What is a WP3 Windpost?
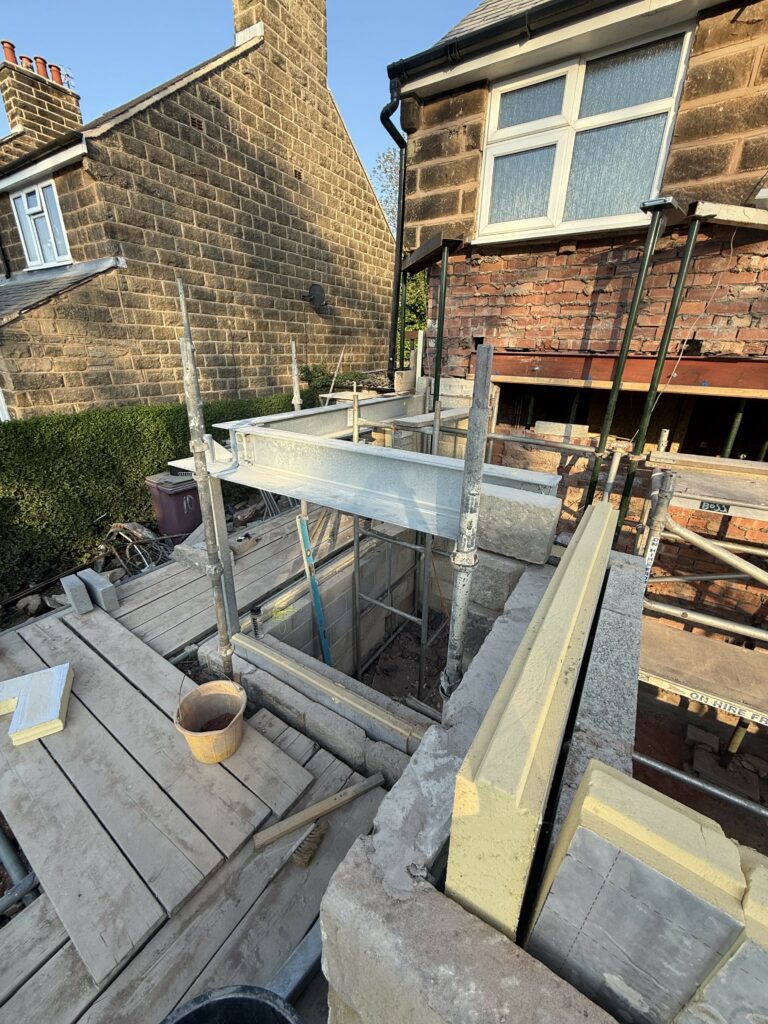
WP3 Windposts – A channel system that sits within the cavity tying the inner and outer wall with wall ties, fixed at the base and top with brackets and cleats.
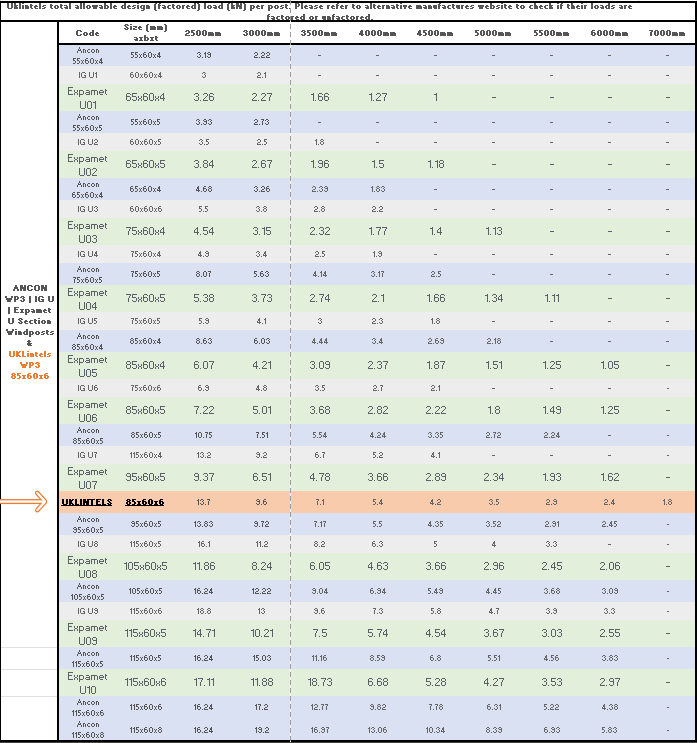
How does a UKLintels WP3 Windpost differ from Ancon | IG or Expamet (Birtley) Section Windpost?
Below shows in one easy to see table Ancon WP3 | IG U & Expamet U Section Windposts. It also shows the UKLintels system within this range of products. This table should be used as a guide only. Please check this table against the manufacturers latest published data for accuracy.
You can CONFIGURE ONLINE a WP3 windpost (85x60x6) section. Below is an explanation of how to use our online configurator with various tips for each stage.
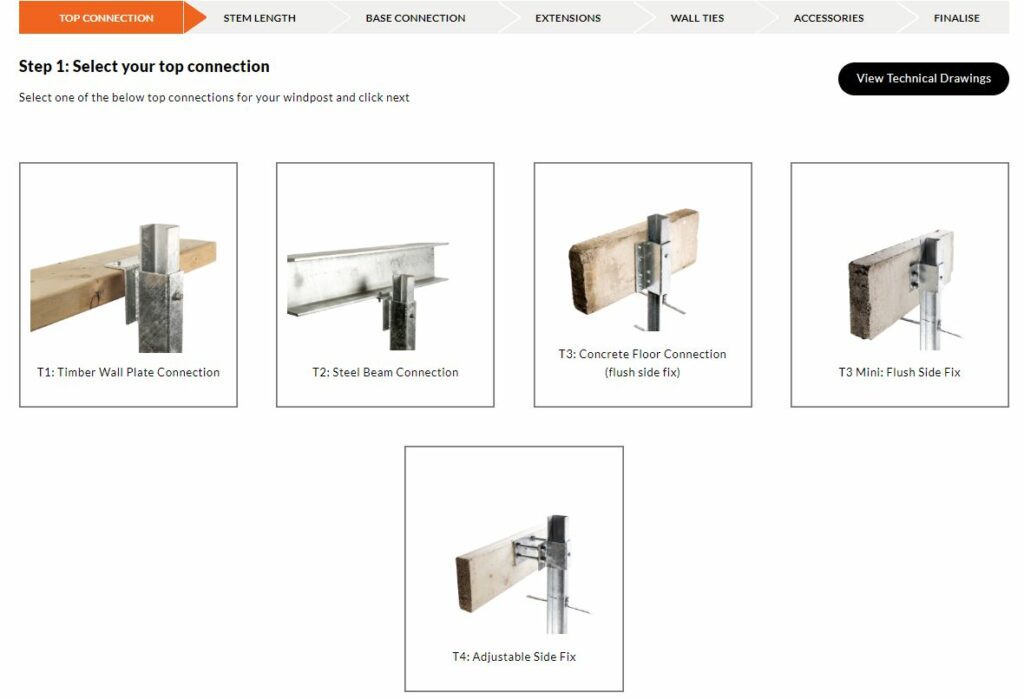
The top connection will be a choice of fitting to attach to a timber, steel, or concrete beam. You can also download our PDF Installation guide.
Step 1 select your top connection bracket. The top brackets are open brackets so the top connection bracket can slide up and down the windpost. Once the top bracket is fixed in to place, the remaining stem can either be left sailing in to the cavity, or cut off on site with a disc cutter and the cut end treated with cold zinc spray which can be purchased online. The various options are shown on screen and click NEXT once you have made your selection.
Step 2 you will decide on the length of the stem you will need. 2.5m – 3.5m stems come as one piece. 5.0m + options are two stems with a collar bracket connection. The collar bracket and bolts are supplied as part of the kit when you select these lengths and the stems are pre-dilled by UKLintels before delivery.

Step 3 – select your base connection. The stem is pre-drilled with a slotted hole to allow for adjustment. The base bracket bolts to the stem.

Step 4 – Various extension plates are also available to suit your specific project. This is because cavity wall sizes change with various cavity sizes, inner and outer leaf widths. Typical walls can be anything from 250mm overall (100mm inner leaf, 50mm cavity, 100mm outer leaf) to 405mm. In addition, the position of the windpost within the cavity can sometimes be central or more towards one side (often closer to the inner leaf).
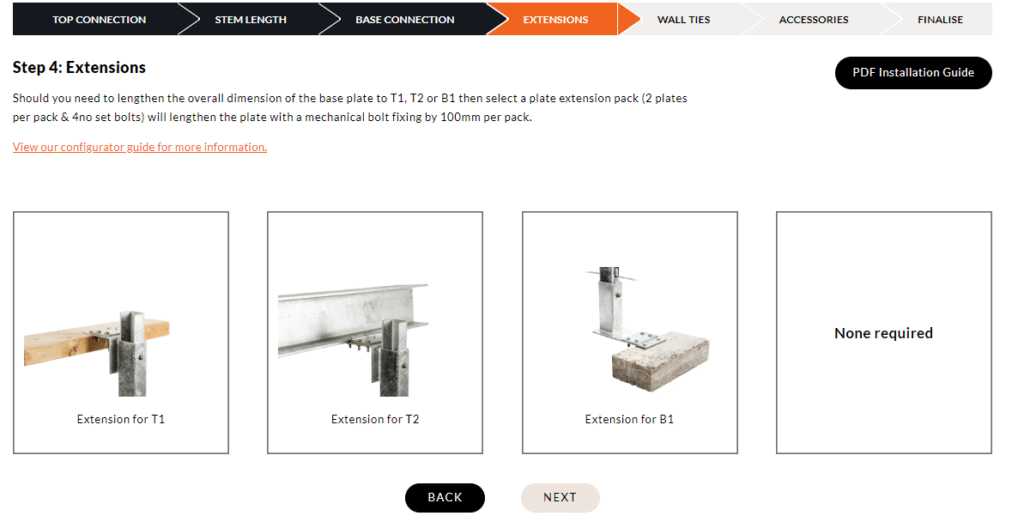
The standard baseplate on our top and bottom brackets therefore sometimes need to be extended to allow for these variations.The extension plates enable this via mechanically fixing additional plates to the existing bracket. Each extension plate consists of two plates and 4 bolts and extend the bracket by 100mm as shown below.
Step 5 – All windpost require tying into the inner and outer wall with the use of wall ties. We recommend that a wall tie pack is added to your configuration as we supply the stainless steel wall tie, tek-screw/ washer and an isolation pad to debond the stainless steel tie from the galvanized stem to prohibit cross contamination of materials.
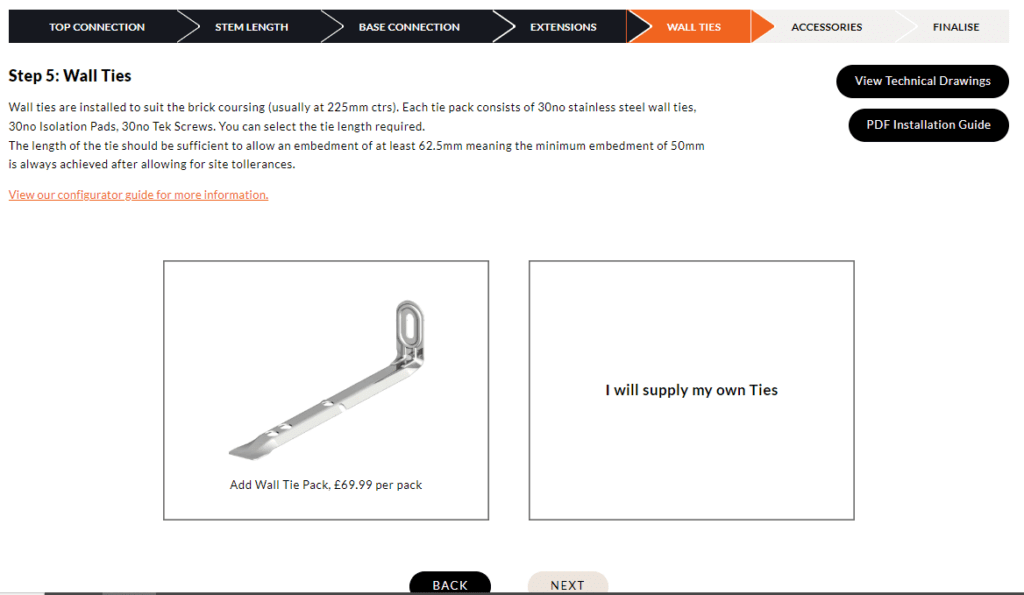
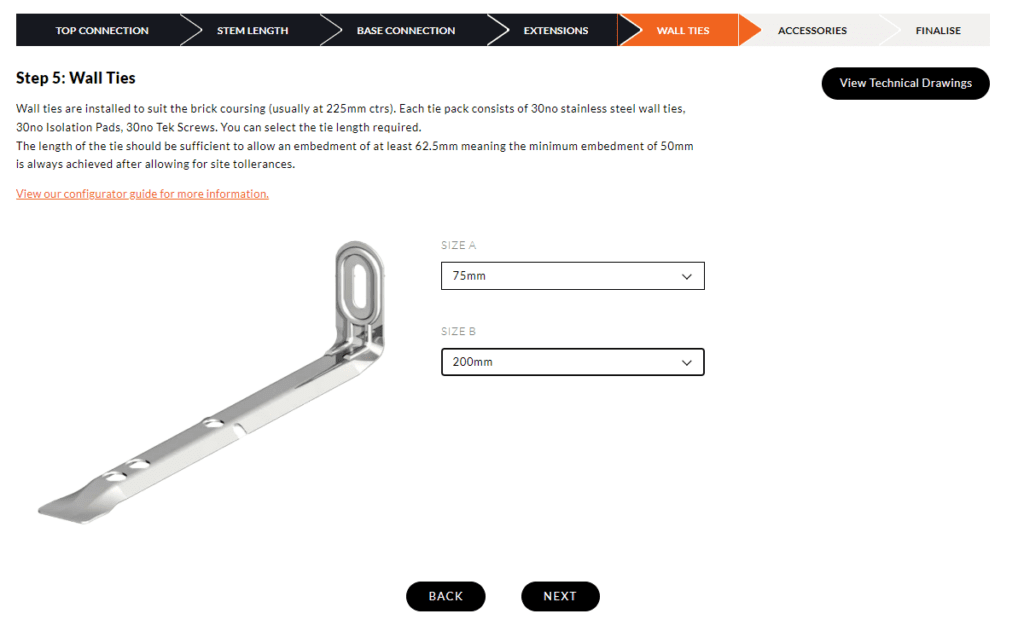
Wall ties are installed to suit the brick coursing (usually at 225mm ctrs). Each tie pack consists of 30no stainless steel wall ties, 30no Isolation Pads, 30no Tek Screws. You can select the tie length required using the options online from 75mm to 200mm tie lengths.
The length of the tie should be sufficient to allow an embedment of at least 62.5mm meaning the minimum embedment of 50mm is always achieved after allowing for site tolerances. The tie length will depend on the overall cavity size, and the position of the windpost within the cavity. Should you require a tie pack with one side longer than the other as shown below, then you can order a mixed ties pack. You can also buy online additional tie pack and other accessory components.

CONGRATS – You have now built your windpost – amend the qty required and add to basket.
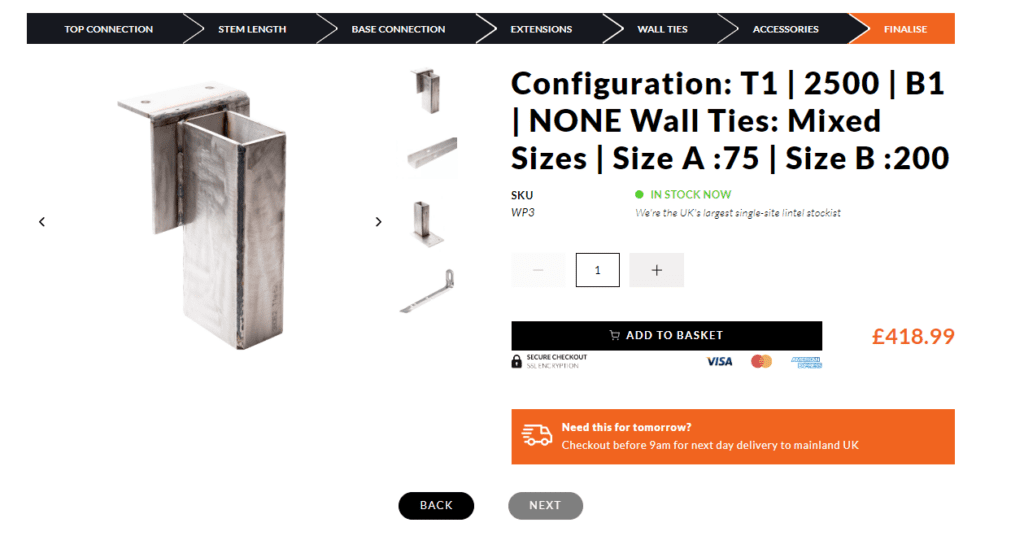
Visit your basket to review your order. You can click on CALCULATE MY SHIPPING to review all collection and delivery options from our premium next day, to free up to 10 day shipping.


